Schedule Build Triggers
Build triggers allow you to start the builds automatically based on a schedule. This helps streamline workflows and reduce the need for manual intervention.
Set Trigger
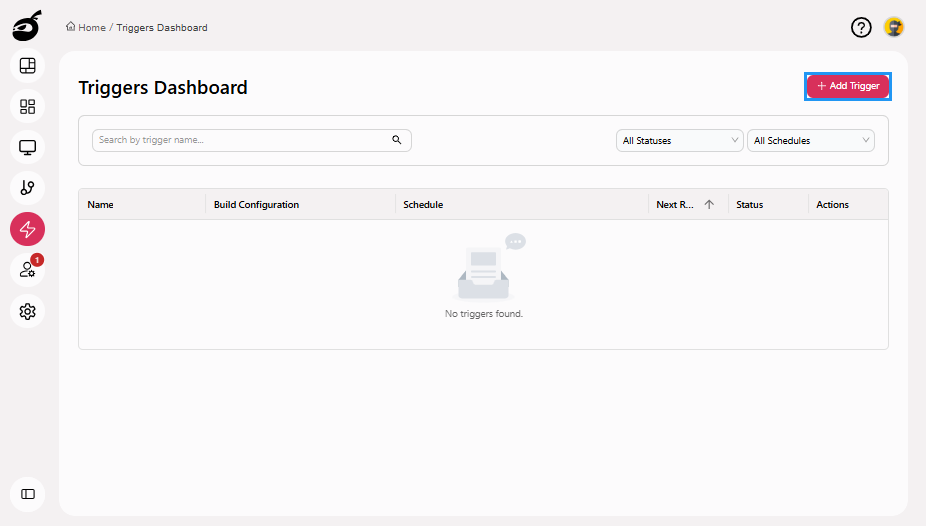
Use Triggers Dashboard ![]() to configure and manage build triggers in a centralized location. This is helpful when managing multiple triggers across different builds or projects. You can also search triggers and filter them based on status or build configuration for faster access and organization.
to configure and manage build triggers in a centralized location. This is helpful when managing multiple triggers across different builds or projects. You can also search triggers and filter them based on status or build configuration for faster access and organization.
-
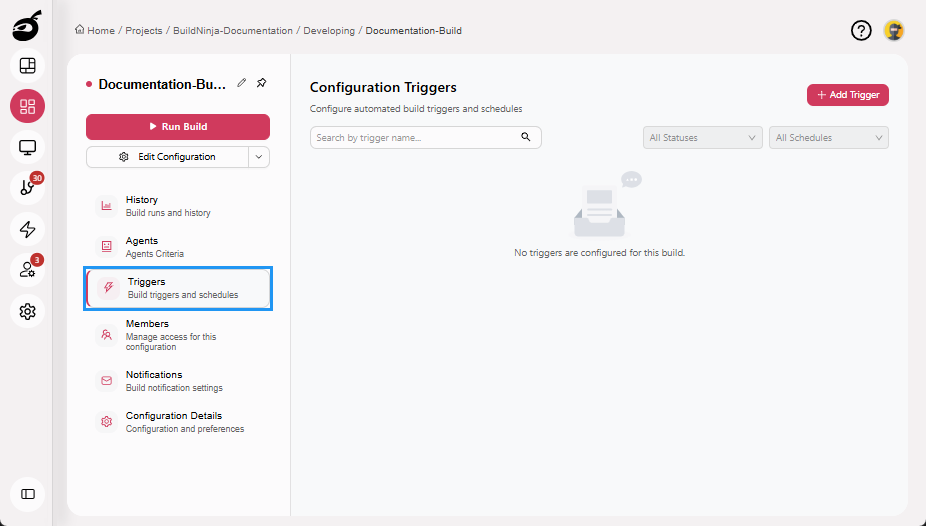
Navigate to Triggers Dashboard
 from the sidebar.
-
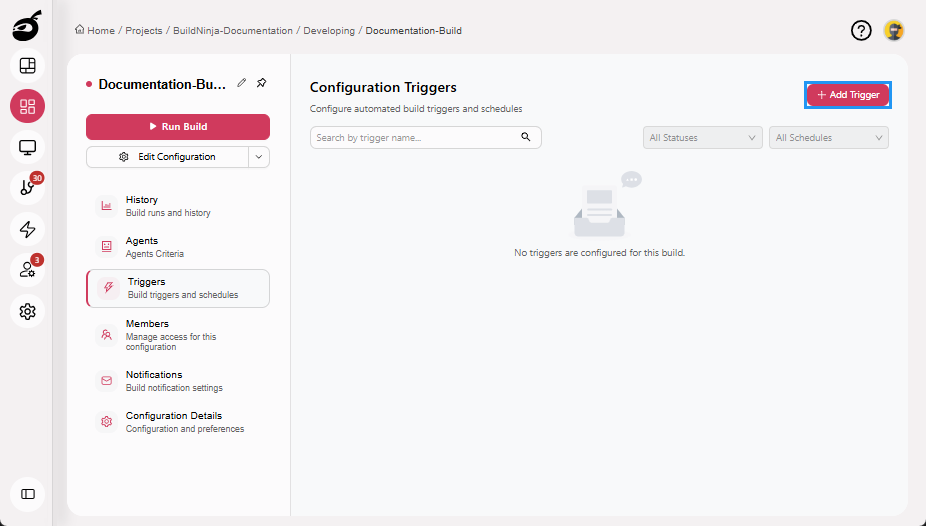
Click Add Trigger.
-
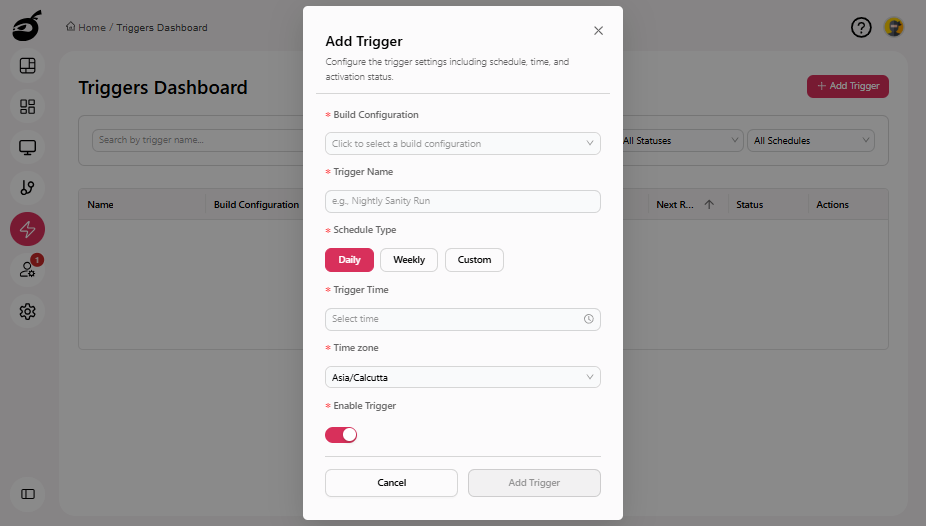
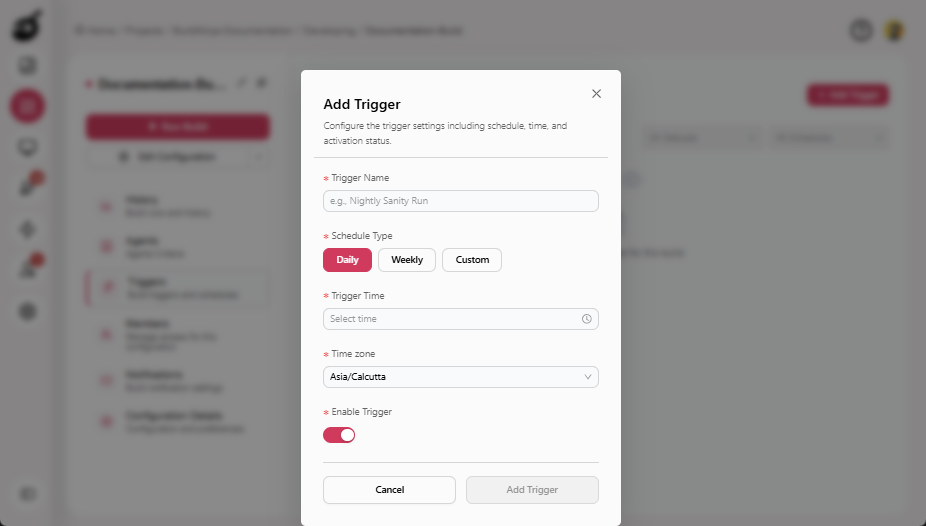
Set the following values:
- Build Configuration: Select the build to which this trigger will apply.
- Trigger Name: Enter a meaningful name for the trigger.
- Schedule Type: Choose how frequently the trigger should run. Available options include:
- Daily: Runs the build once every day at a specified time.
- Weekly: Runs the build on selected days of the week at a specified time.
- Custom: Define a custom schedule using a cron expression.
- Trigger Time: Enter the time at which the trigger should run.
- Time Zone: Set the time zone for the scheduled trigger.
- Enable Trigger: Toggle this ON to activate the trigger after configuration.
-
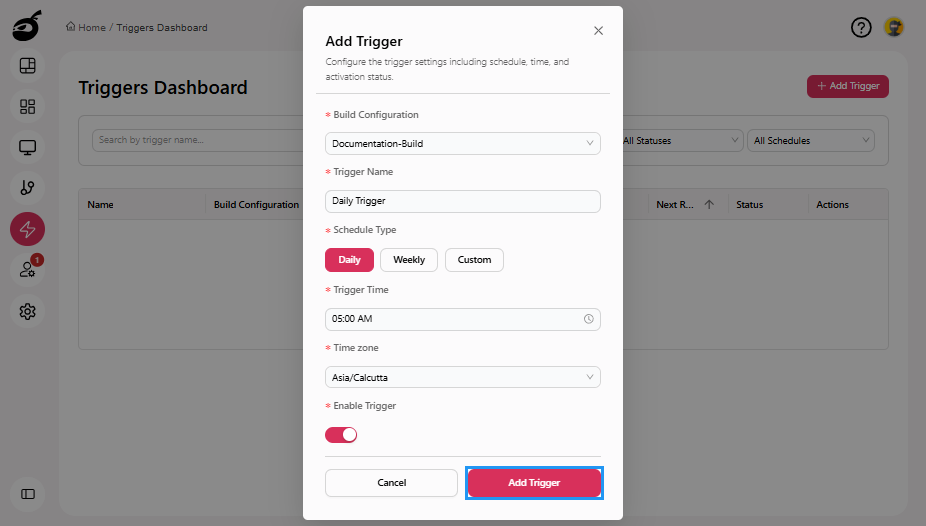
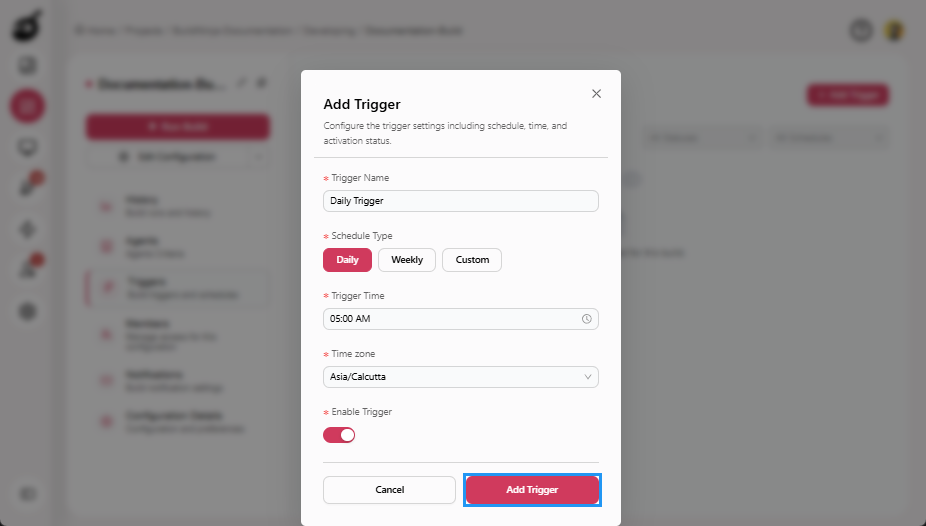
Click Add Trigger to add the trigger.
Set Trigger via Triggers Tab
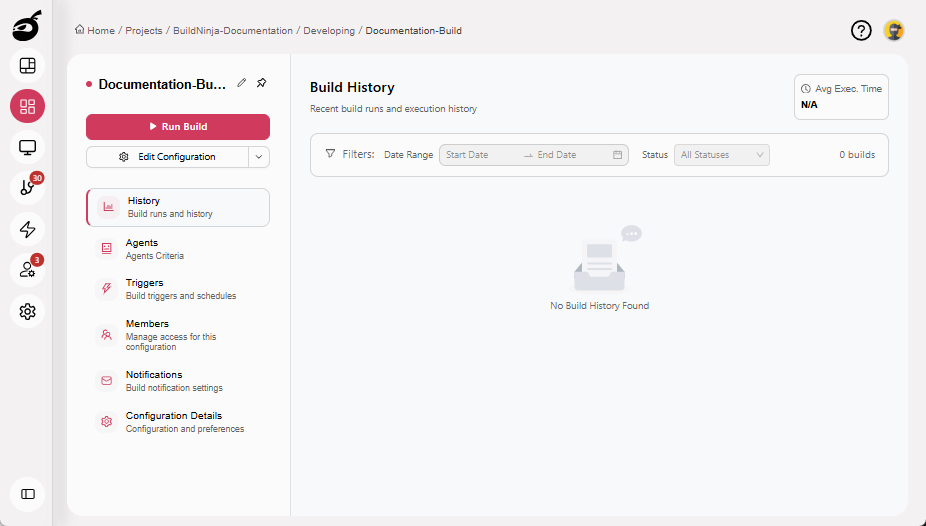
You can also configure triggers directly from the build interface under the Triggers tab. This is ideal when working within a specific build configuration and allows quick access to its associated triggers.
-
Navigate to the build for which you want to add a trigger.
-
Go to the Triggers tab.
-
Click Add Trigger.
-
Set the following values:
- Trigger Name: Enter a meaningful name for the trigger.
- Schedule Type: Choose how frequently the trigger should run. Available options include:
- Daily: Runs the build once every day at a specified time.
- Weekly: Runs the build on selected days of the week at a specified time.
- Custom: Define a custom schedule using a cron expression.
- Trigger Time: Enter the time at which the trigger should run.
- Time Zone: Set the time zone for the scheduled trigger.
- Enable Trigger: Toggle this on to activate the trigger after configuration.
-
Click Add Trigger to add the trigger.
Filter Triggers
The Triggers Dashboard ![]() and the Triggers tab within each build configuration both include filters to help you quickly locate specific triggers and manage large or complex setups efficiently. You can filter the triggers based on:
and the Triggers tab within each build configuration both include filters to help you quickly locate specific triggers and manage large or complex setups efficiently. You can filter the triggers based on:
-
Trigger Name: Search by name to quickly find a specific trigger.
-
Status: View triggers by state (All Statuses, Enabled, or Disabled).
-
Schedule: Filter by schedule type (All Schedules, Daily, Weekly, or Custom).


Manage Triggers
You can Edit, Enable or Disable, and Delete triggers directly from either the Triggers Dashboard ![]() or the Triggers tab within a build configuration.
or the Triggers tab within a build configuration.
Edit Trigger
- Navigate to the Triggers Dashboard or the Triggers tab of a specific build.
- Locate the trigger using filters or search.
- Edit the trigger:
- If you are on the Triggers Dashboard, click the Ellipses menu
 next to the trigger, and then select Edit
  button.
 - If you are on the Triggers tab, click Edit
 button directly on the trigger card.
- If you are on the Triggers Dashboard, click the Ellipses menu
- Modify the desired settings.
- Click Update Trigger
 to save your changes.
Enable or Disable Trigger
- Navigate to the Triggers Dashboard or the Triggers tab of a specific build.
- Locate the trigger using filters or search.
- Change the trigger status:
- If you are on the Triggers Dashboard, click the Ellipses menu next to the trigger, and then select Enable or Disable
 /
/  button depending on the current state.
 - If you are on the Triggers tab, click Enable or Disable
 toggle button directly on the trigger card to change the status.
- If you are on the Triggers Dashboard, click the Ellipses menu
Delete Trigger
- Navigate to the Triggers Dashboard or the Triggers tab of a specific build.
- Locate the trigger using filters or search.
- Delete the trigger:
- If you are on the Triggers Dashboard, click the Ellipses menu next to the trigger, and then select Delete
 button.
 - If you are on the Triggers tab, click Delete
 button directly on the trigger card.
- If you are on the Triggers Dashboard, click the Ellipses menu
- Confirm the deletion when prompted.