Configure BuildNinja Server
Set up the Server to manage builds, coordinate agents, and connect to the database. The server acts as the central controller for your CI/CD operations, handling build scheduling, monitoring, and communication between agents and projects.
Configure and Start BuildNinja Server
-
Define the environment variables that control server behavior, database connections, storage paths, and authentication settings. For details on supported variables and how to set them up, see Set Up on LinuxFollow these steps to configure your environment variables on a Linux system. 1. Open a terminal window. 2. Edit your shell configuration file (for example, .bashrc or .zshrc, depending on your shell). bash nano ~/..
-
Start the server by running the
bn_server_linuxbinary included in the package. This launches the server in CLI mode. By default, it runs on port 8800, unless overridden using theBN_SERVER_PORTenvironment variable. Once started, the server automatically connects to the configured MongoDB instance using the URI and credentials defined inBN_SERVER_MONGOURI.noteMake sure MongoDB is running and accessible at the specified URI before starting the server.
Access BuildNinja Web Interface
-
Open a browser and visit
http://<your-server-ip>:8800/.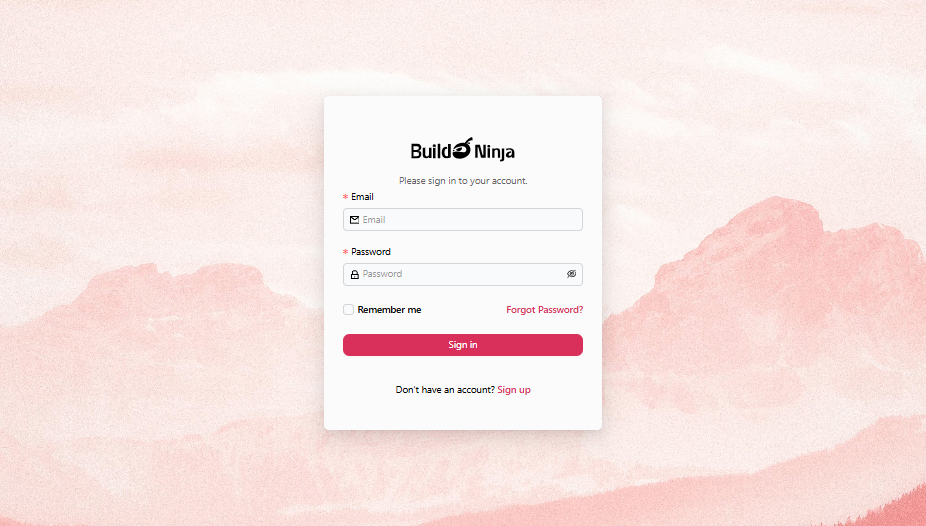
-
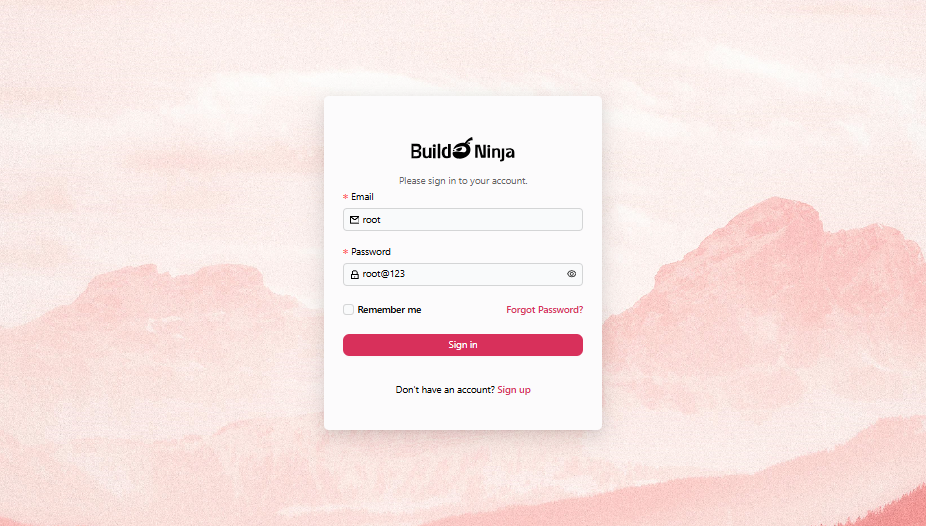
Use the default administrator credentials to sign in:
- Email:
root - Password:
root@123
- Email:
-
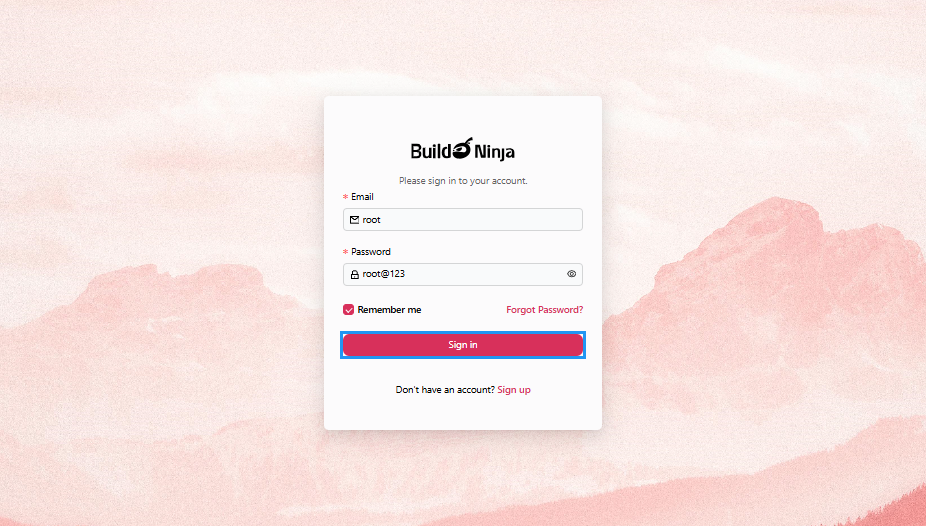
Click Sign in to continue.
-
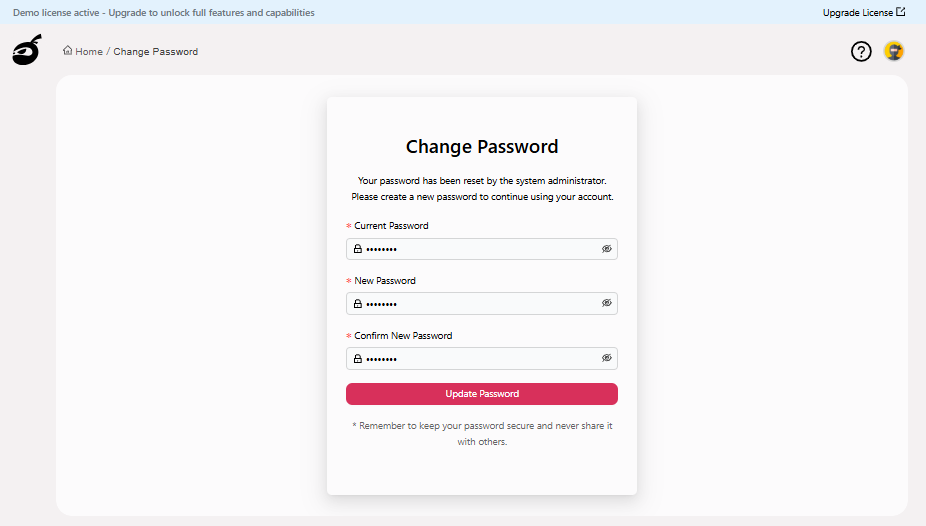
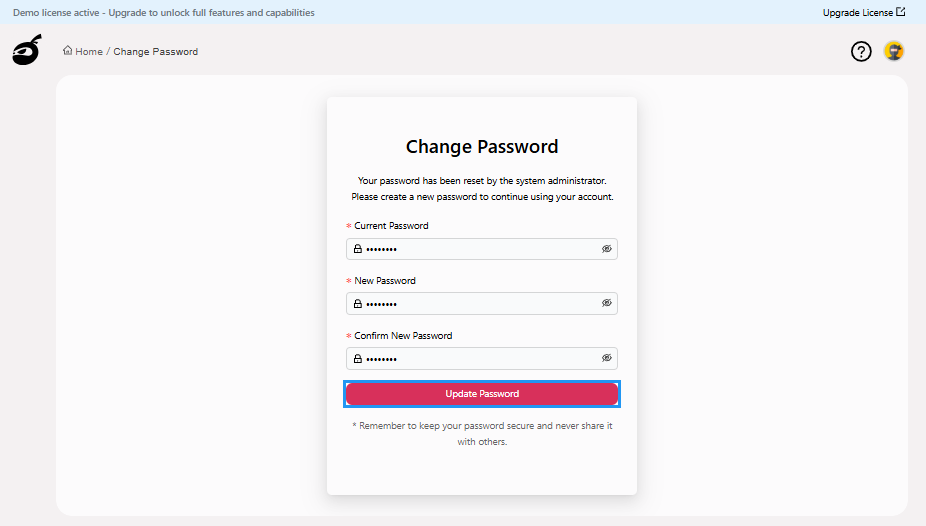
After signing in, the "Sign-in" page will prompt you to reset the password. Enter the following details:
- Current Password: The default administrator password.
- New Password: Enter a strong password for your account, at least 8 characters with a combination of letters, numbers, and special characters.
- Confirm New Password: Enter the password you have entered in the "New Password" field.
-
Click Update Password to reset the password.
 After successfully resetting your password, BuildNinja will automatically redirect you to the Dashboard
  .
.