Manage SSO Authentication
As an administrator, configuring Single Sign-On (SSO)Single Sign-On (SSO) is an authentication method that enables users to log in once and gain access to multiple connected applications or services without needing to re-enter their credentials. authentication is an essential step toward streamlining user access and improving security across multiple applications in your organization. SSO is a centralized authentication process that enables users to access various applications or systems with a single set of credentials. Configuring SSO simplifies the sign-in process, increases security, and improves user experience by eliminating the need for multiple passwords. BuildNinja supports SSO integration with several popular identity providers, including Microsoft (Azure AD), GitHub, GitLab, Google, and Bitbucket.
Prerequisites:
Before you configure SSO with your preferred identity provider, make sure you meet the following prerequisites for each supported platform:
-
Microsoft (Azure AD)
- A Microsoft Azure account with admin access.
- Access to the Azure Active Directory (AAD) portal.
- A registered application with:
- Client ID
- Client Secret
- Redirect URI matching your BuildNinja instance.
- Permissions to configure Enterprise Applications and SSO settings.
For more information, see Register app or web API.
-
GitHub
- A GitHub account (individual or organization-level).
- A registered OAuth App with:
- Client ID
- Client Secret
- Redirect URI matching your BuildNinja instance.
- Access to Developer Settings in GitHub to manage OAuth applications.
For more information, see Creating an OAuth App.
-
GitLab
- A GitLab account (GitLab.com or self-managed instance).
- A registered OAuth Application with:
- Application ID (used as Client ID)
- Secret (used as Client Secret)
- Redirect URI matching your BuildNinja instance.
- Access to Applications settings in GitLab to create and manage OAuth apps.
For more information, see OAuth service provider.
-
Google
- A Google Cloud Platform (GCP) project with the OAuth consent screen configured.
- A registered OAuth 2.0 Client ID and Client Secret.
- Redirect URI matching your BuildNinja instance.
- Access to the Credentials section in the Google Cloud Console.
For more information, see Overview.
-
Bitbucket
- A Bitbucket account (individual or team-level).
- A registered OAuth consumer with:
- Client Key (used as Client ID)
- Client Secret
- A Callback URL matching your BuildNinja instance
- Access to Bitbucket Settings > OAuth to manage your OAuth consumers.
- Permissions for repositories and webhooks (read access at minimum).
For more information, see Use OAuth on Bitbucket Cloud.
All providers require that your BuildNinja instance is accessible over HTTPS and that redirect URIs are correctly configured in the identity provider's settings.
Add SSO Provider Configuration
-
Navigate to the Settings
 and open SSO Settings.
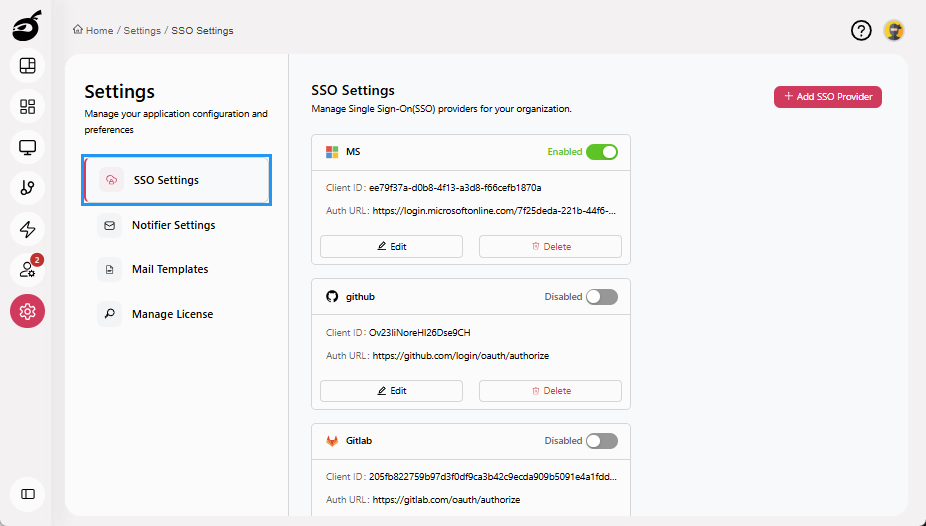
-
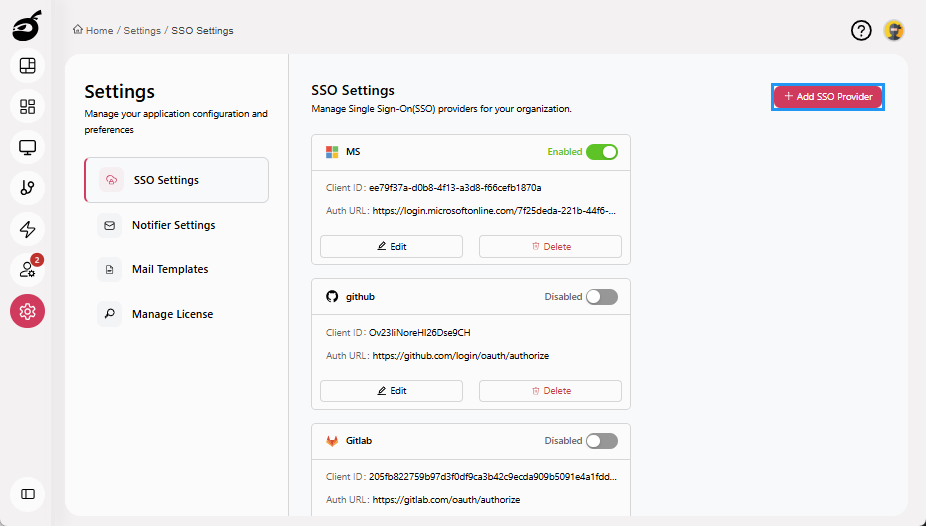
Click Add SSO Provider to add SSO provider configuration.
-
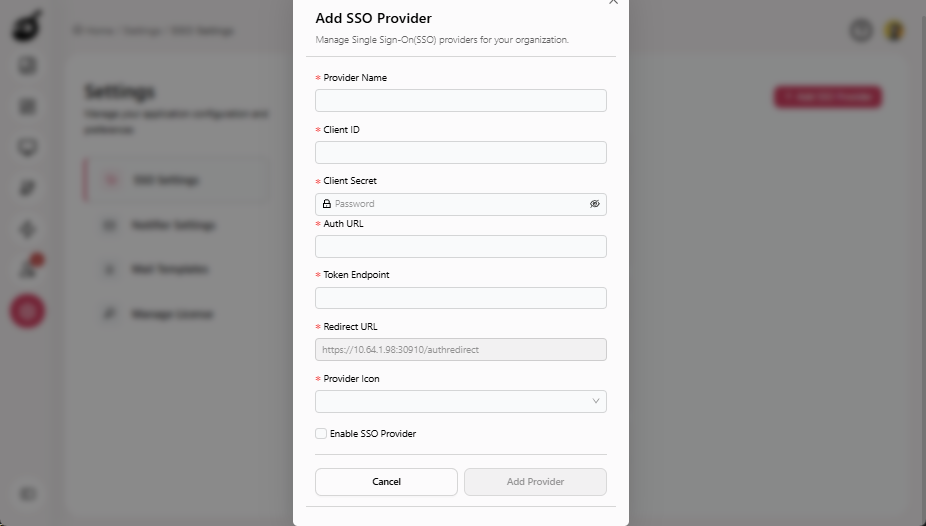
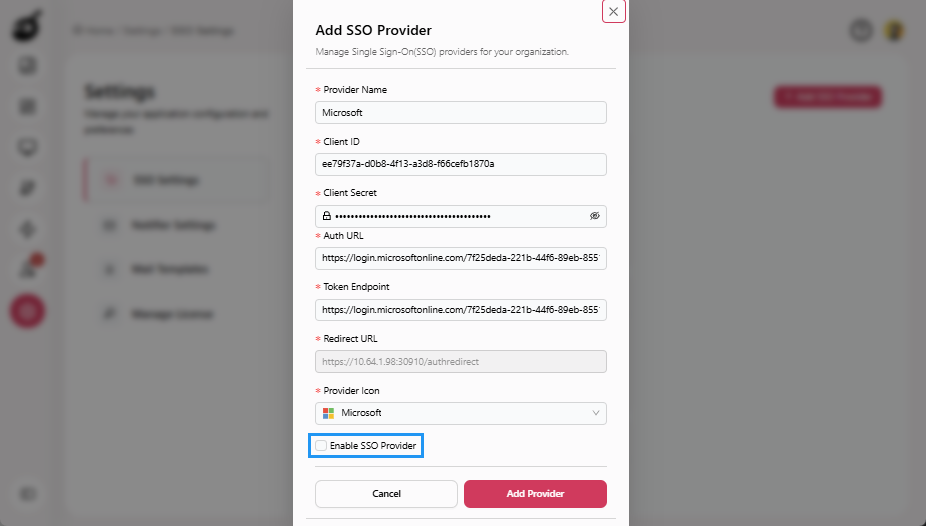
Provide the following details in Add SSO Provider pop-up:
- Provider Name: Enter the name of the identity provider.
- Client ID: Enter the Client ID provided by the identity provider. This is a unique identifier for the BuildNinja.
- Client Secret: Enter the Client Secret, which is typically given when registering the BuildNinja with the identity provider. This is a confidential key used to authenticate.
- Auth URL: Enter the Authorization URL provided by the identity provider. This URL will handle the initial authentication requests from users.
- Token Endpoint: Enter the Token Endpoint URL, which is used to exchange the authorization code for an access token once the user has been authenticated.
- Redirect URL: The URL where the identity provider should redirect users after authentication. This must match the one registered with the provider. Users can copy this URL directly from the interface to use during provider setup.
- Provider Icon: Choose the identity provider’s icon. This icon will be displayed alongside the provider's name on the sign-in page.
-
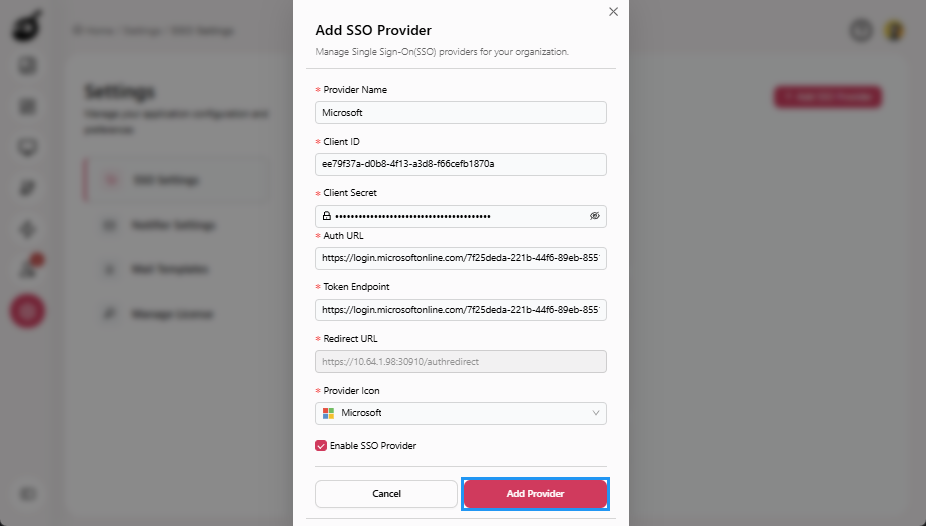
Select the Enable SSO Provider checkbox to activate the SSO provider. This step is optional, and you can enable the SSO provider at a later time if needed.
-
Click Add Provider to save your configuration.
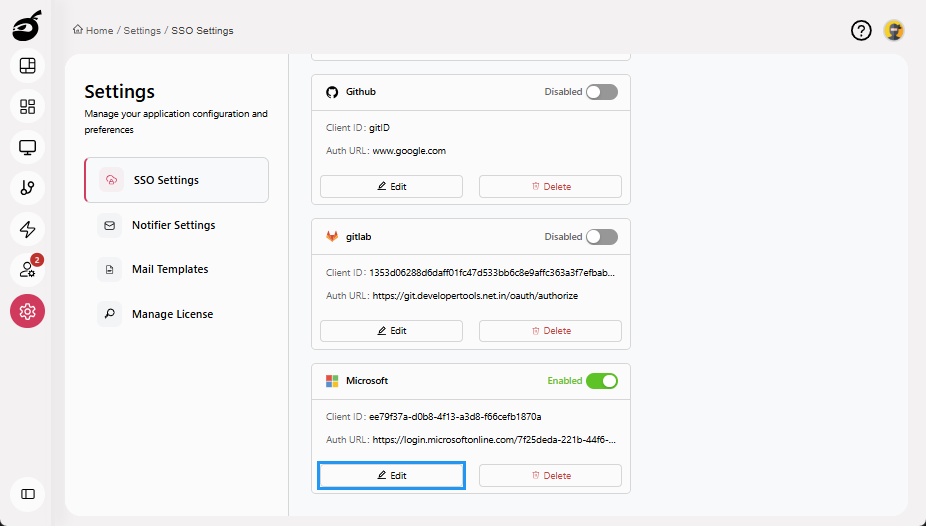
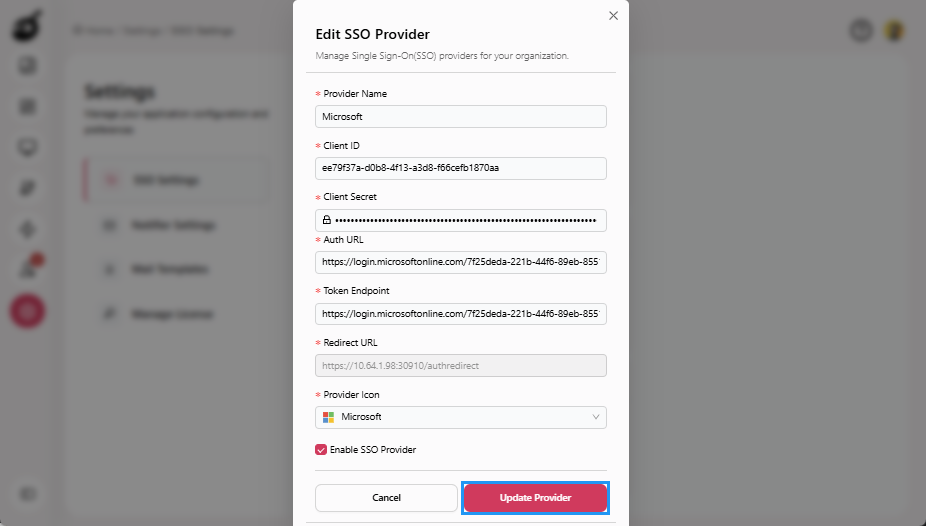
Edit SSO Provider Configuration
-
Click Edit to edit the SSO provider configuration.
-
Edit the following fields in Edit SSO Provider pop-up as needed:
- Provider Name
- Client ID
- Client Secret
- Auth URL
- Token Endpoint
- Provider Icon
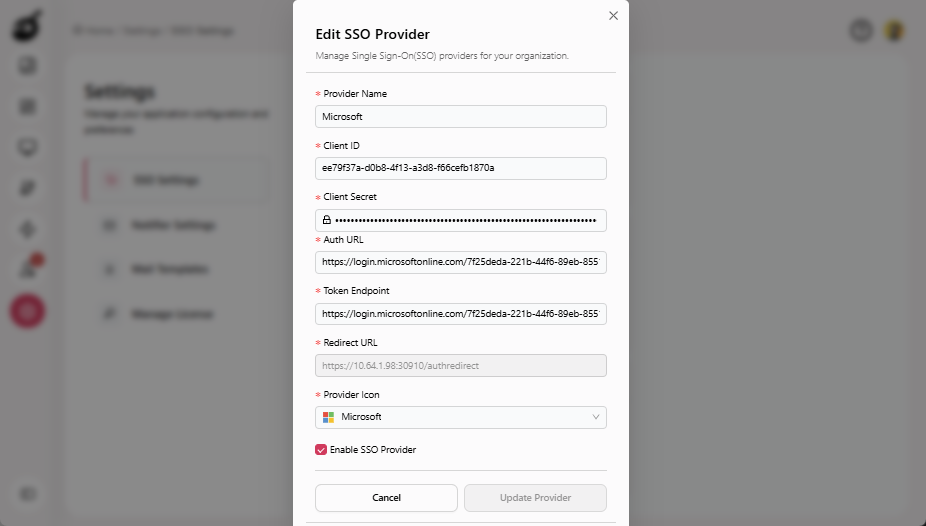
-
Click Update Provider to update your configuration.
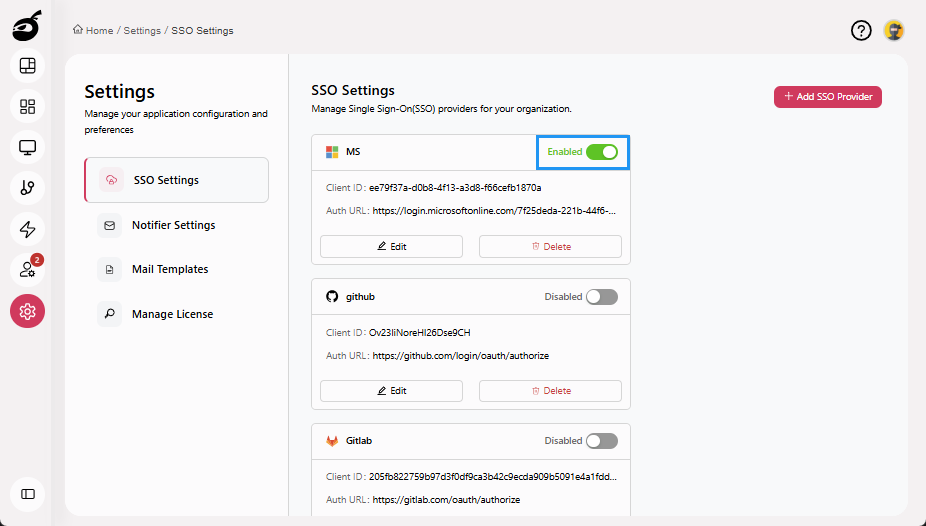
Enable/Disable SSO Provider
-
Click Enable/Disable toggle option to enable or disable the SSO provider.